VW Crafter Van Build
My VW Crafter Build: From Delays to a Perfect Multi-Purpose Adventure Van
Hello, fellow road warriors and adventure enthusiasts! I’m excited to share the story behind my VW Crafter build—a journey marked by unexpected delays, smart solutions, and a touch of DIY ingenuity. Whether you’re embarking on your own van conversion or simply enjoy reading about custom builds, I hope you find this account both insightful and inspiring.
The Beginning: From Delay to Opportunity
Initially, I had my sights set on ordering a brand-new 4Motion van, but with continuous delays, I decided to pivot. Enter a second-hand VW Crafter, sourced from a good friend. This van came with a unique moto setup, which I carefully removed but left behind some key features that proved invaluable:
Diesel Heater: Perfect for those chilly nights or early morning starts.
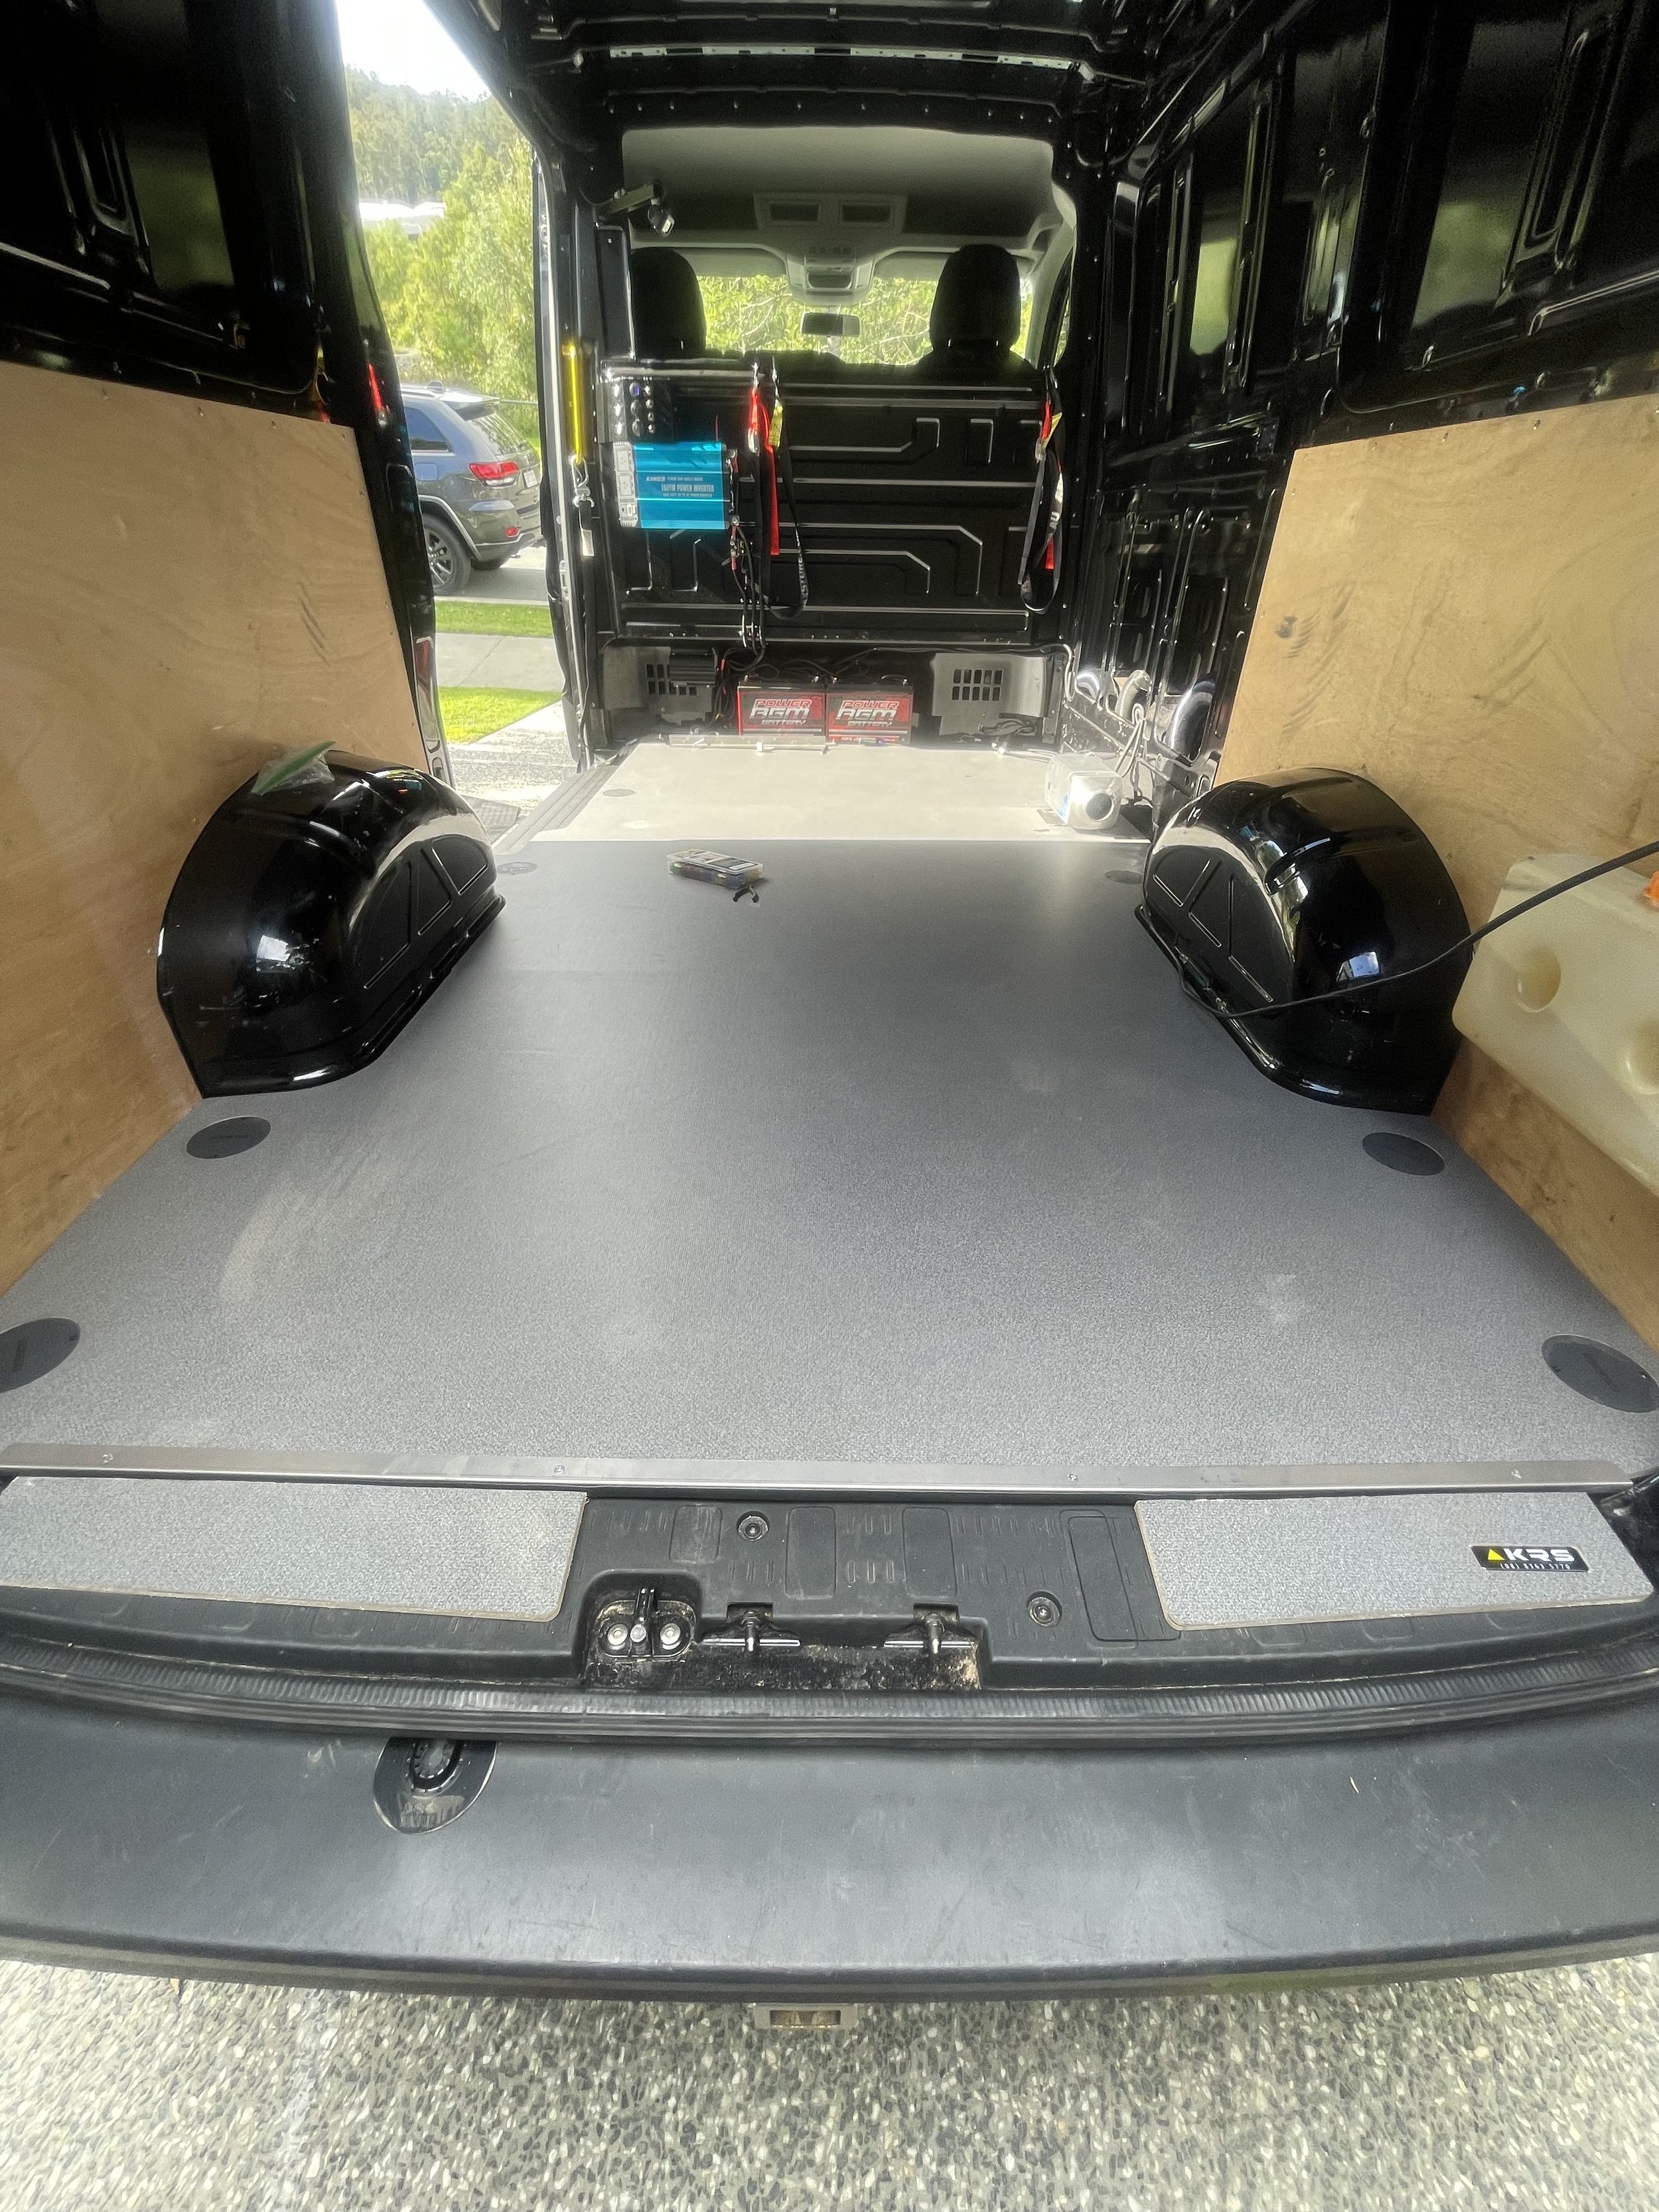
Electrical System: Equipped with a 1500-watt Kings inverter, two house batteries, three external lights, and an internal LED strip.
Setting My Goals
My primary goal for this build was to create a multipurpose setup that would cater to all my passions—motorcycling, mountain biking, surfing and family adventures—while staying organized. I could have tackled every aspect of the build myself, but I knew that combining DIY efforts with professional help and quality products would lead to the best results.
Flooring: A Smart Investment
The first major task was installing the floor. While I could have DIY’d it, I opted for a ready-made solution for precision and ease. After a bit of research, I found a high-quality wood floor specifically designed for the VW Crafter, complete with a stainless end cap. It was delivered in two pieces for $900 AUD from Melbourne.
Before laying down the floor, I insulated the van with small foam strips to prevent squeaking between the floor and the sheet metal. The installation was straightforward, and the result was a solid, noise-free foundation.
Comfort and Legalities
Once the floor was in place, it was time to address the seating. I had to ensure it met Australian road laws, which, let’s be honest, felt like a bit of a bureaucratic joke. Nevertheless, I got it sorted, and now my kids have a comfortable spot to sit, making the van ready for family adventures.
Walls and Insulation: Creating a Cozy Interior
With the floor and seating sorted, I turned my attention to the insulation and wall coverings. Here’s a breakdown of the process:
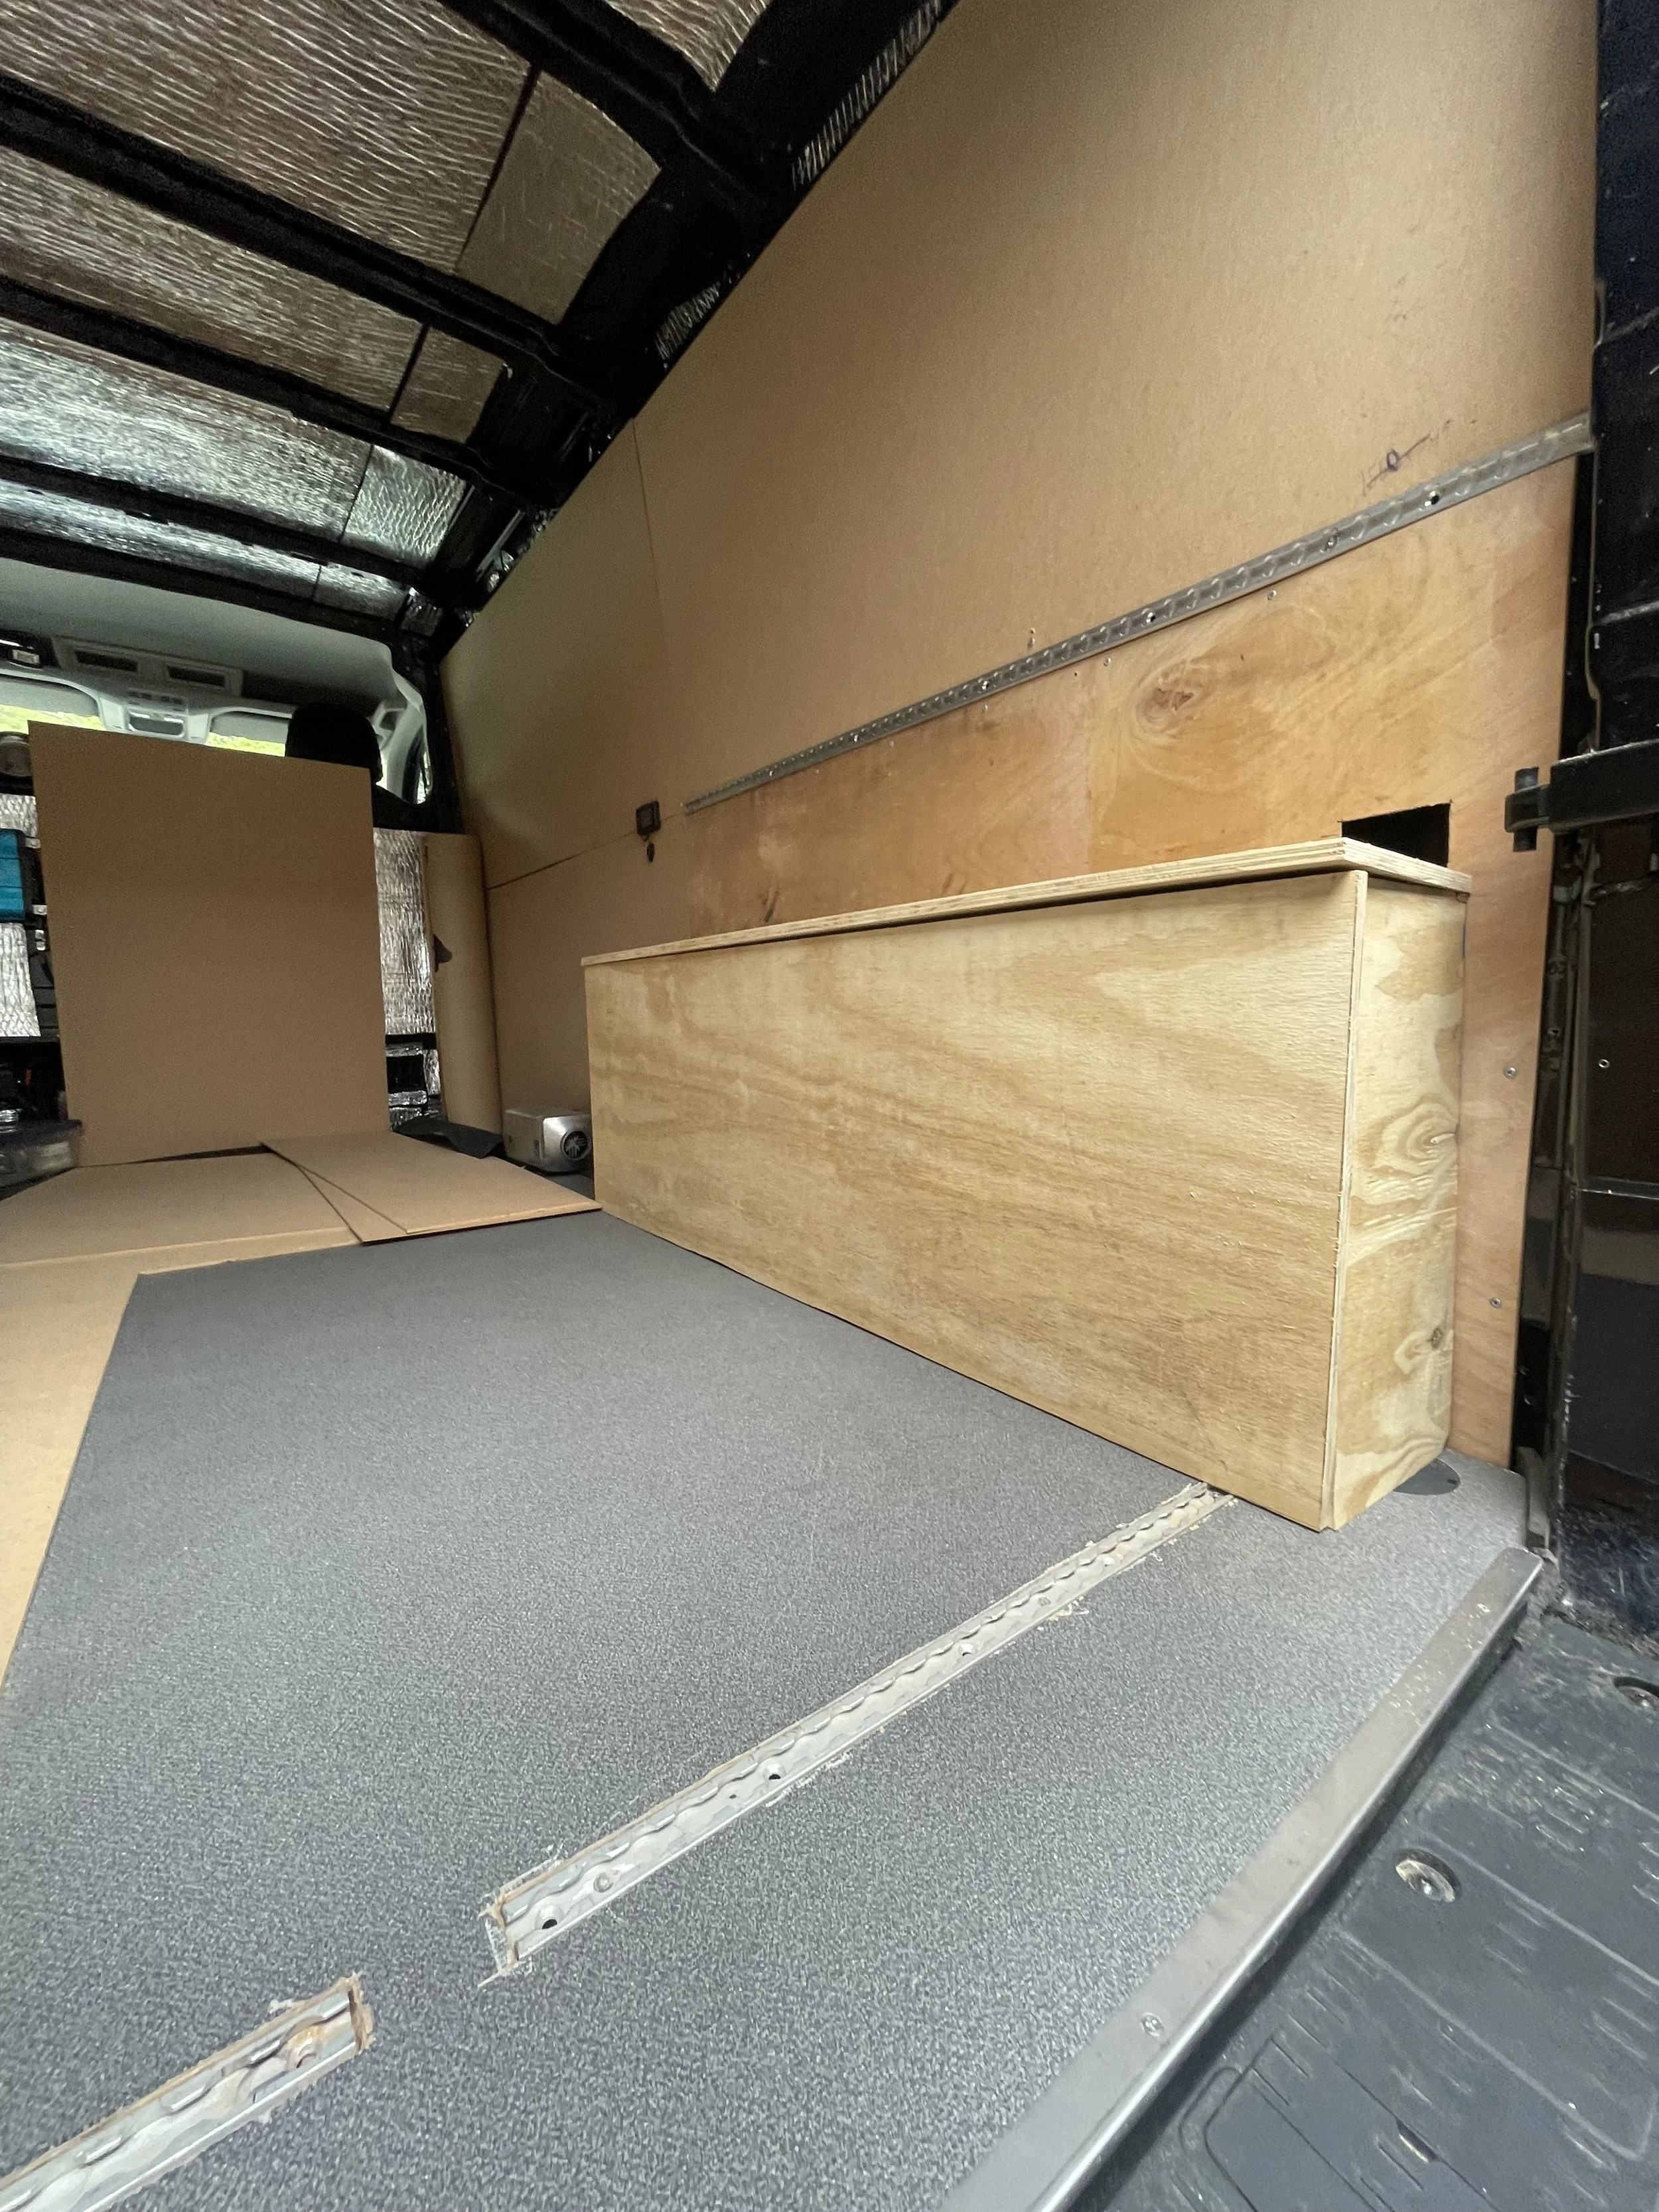
Insulation: I used foam insulation throughout the van, which helps keep the temperature regulated and reduces road noise.
Wall Panels: For the walls, I cut and installed plywood, which was then covered with a durable 3mm ply wrapped in foam and tweed fabric. This not only provided a polished look but also added extra insulation.
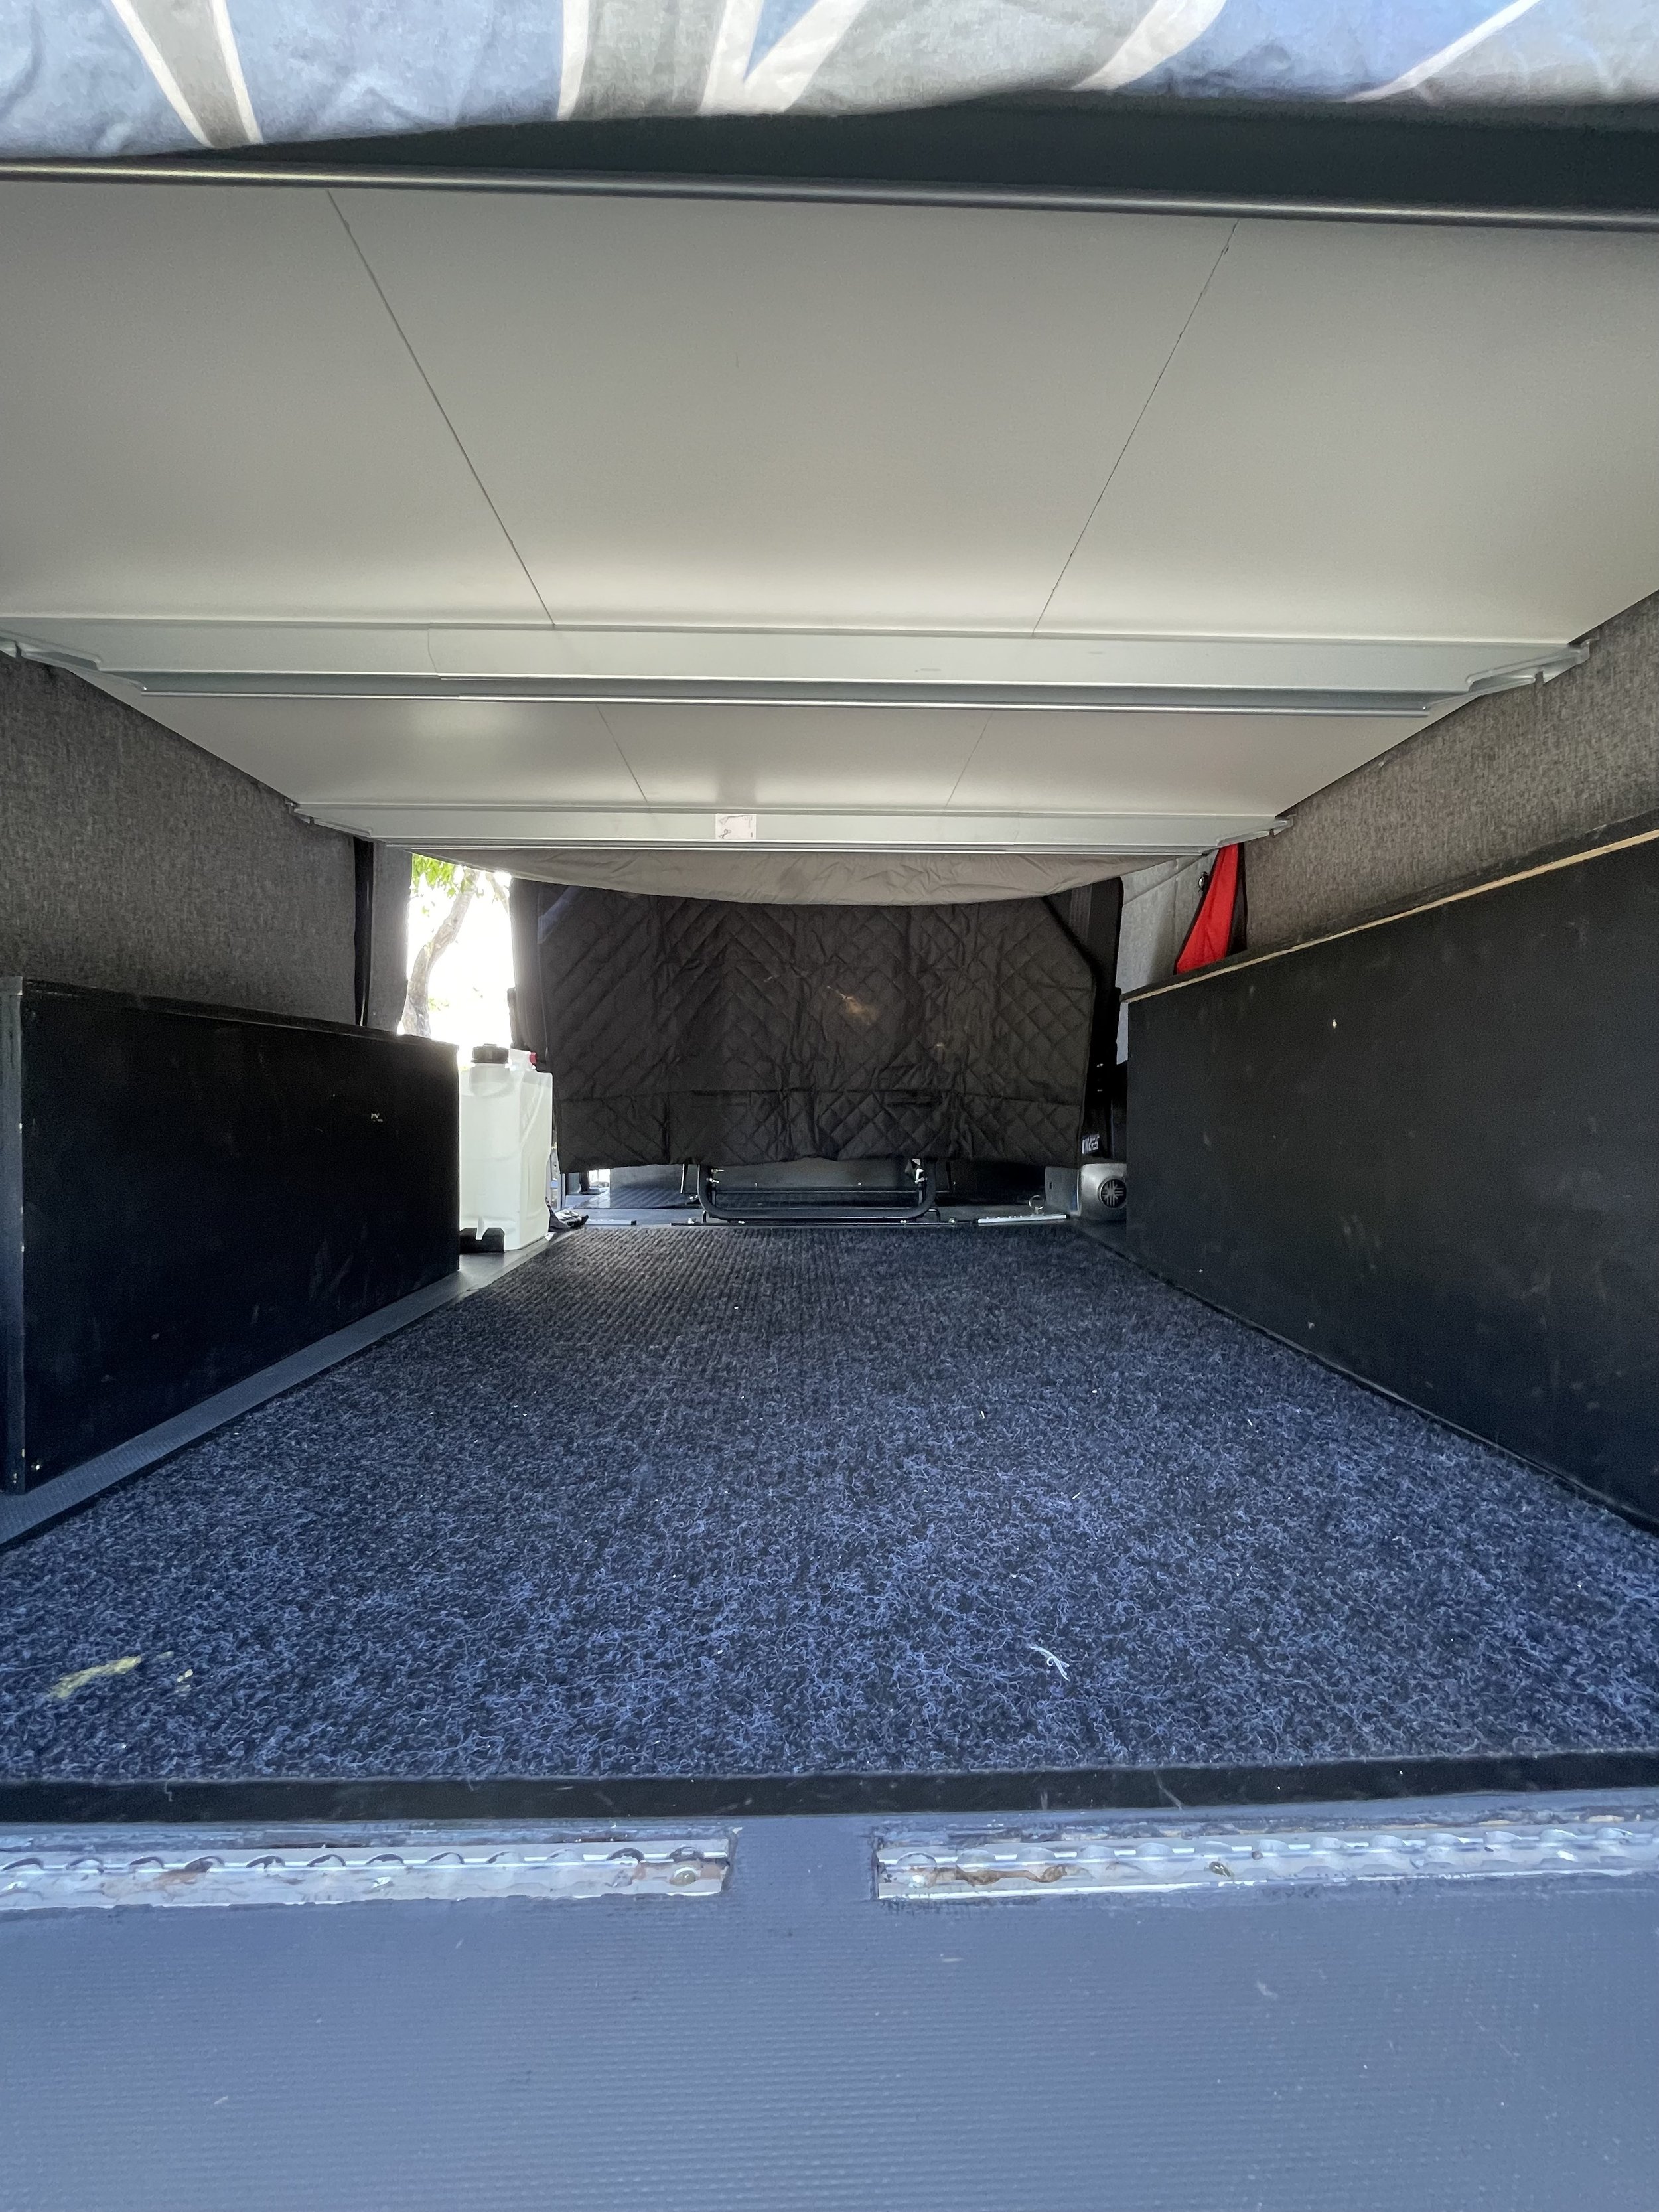
I used L-track to separate the sheets of plywood, which allowed me to mount my DIY panel bed and high-accessory areas for hanging gear. The wheel well boxes were coated with Line-X for durability and used for additional storage.
Collaborative Effort
This project wasn’t a solo endeavor. I had the pleasure of working with my amazing wife Sarah oldest son Mason, who helped with the wall installations. We managed to complete this part of the build in a over a weekend. There support made the process smoother and more enjoyable.
Van Customization Overview
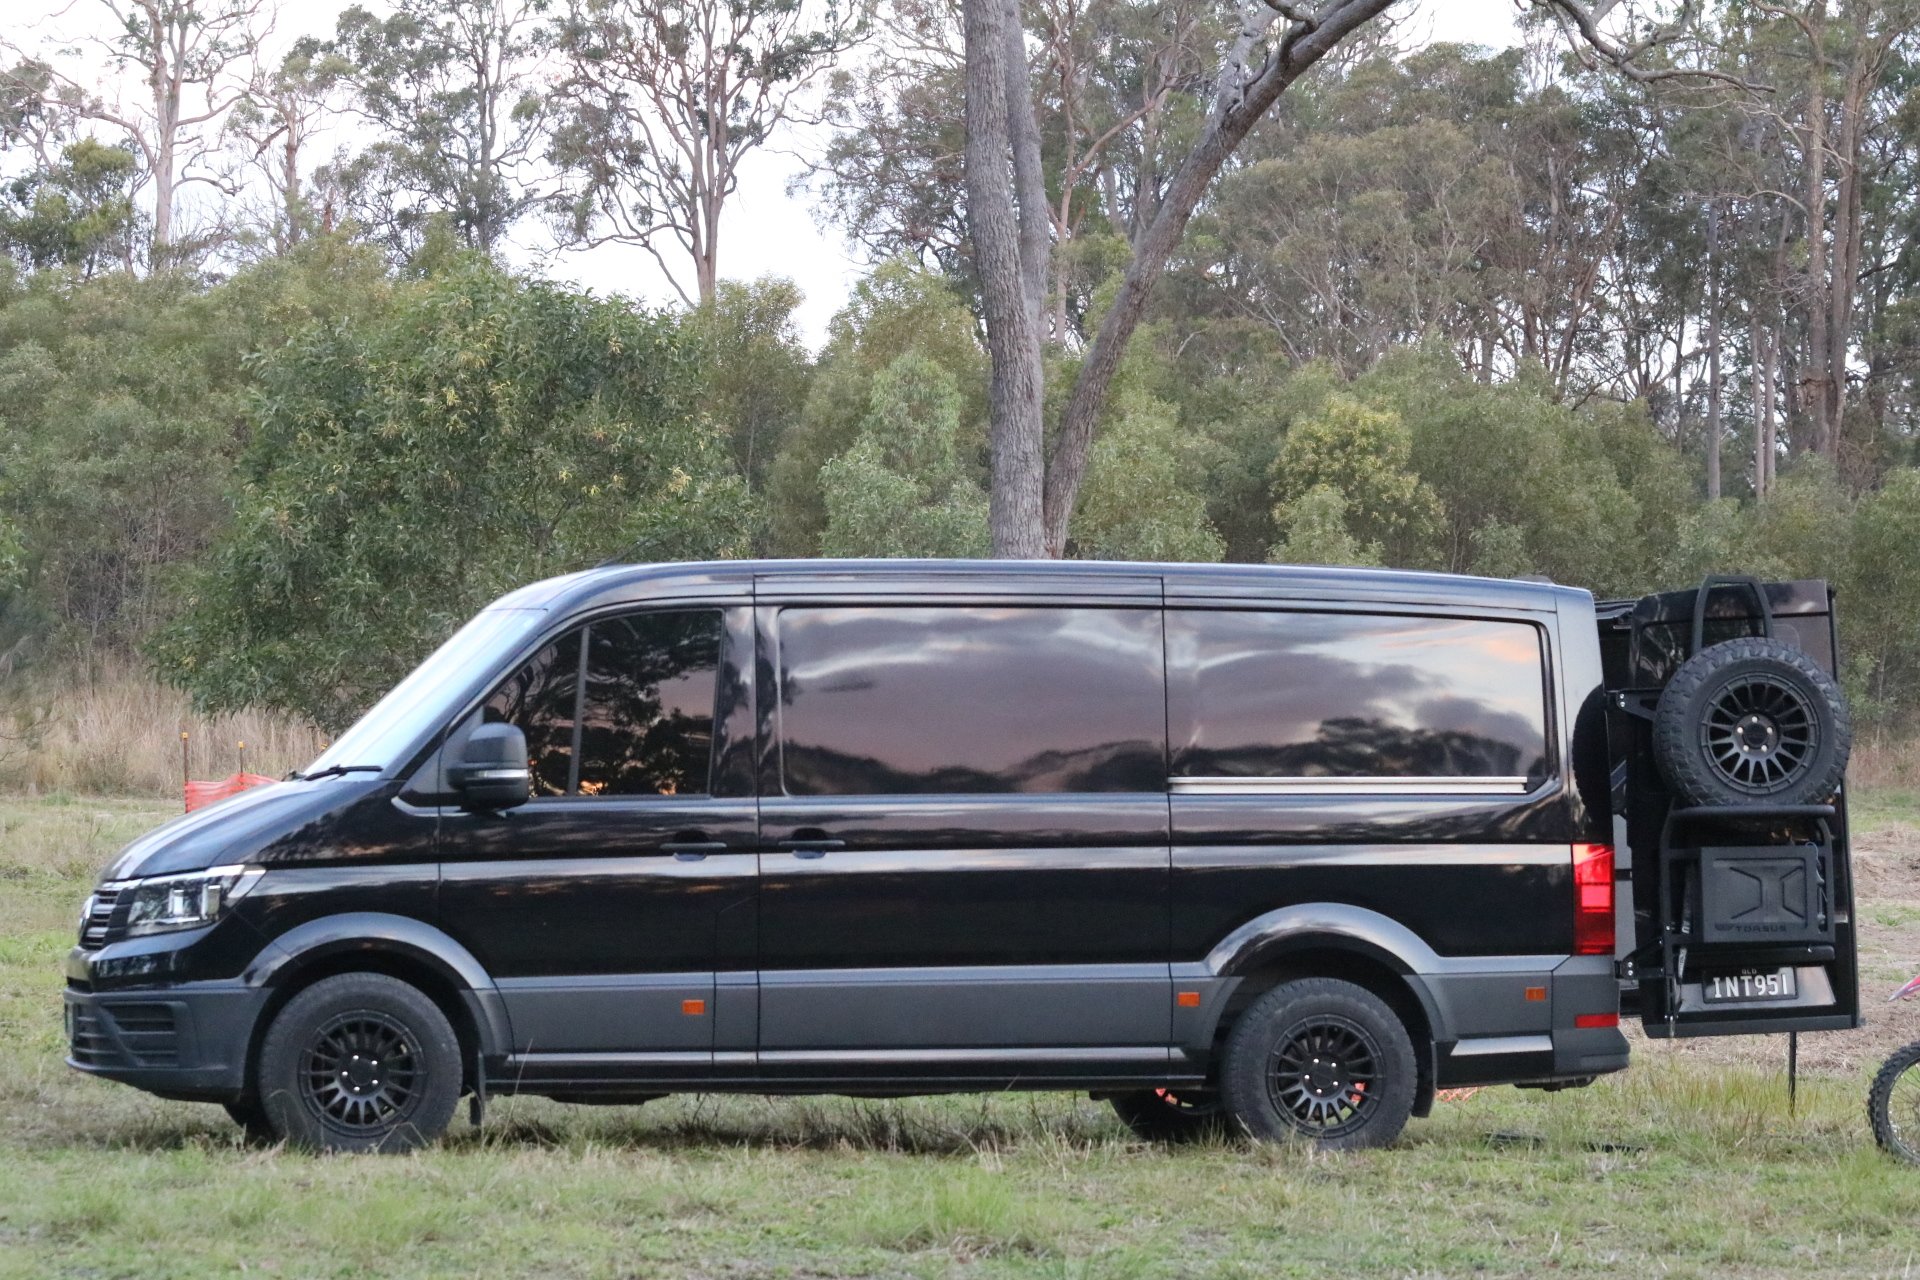
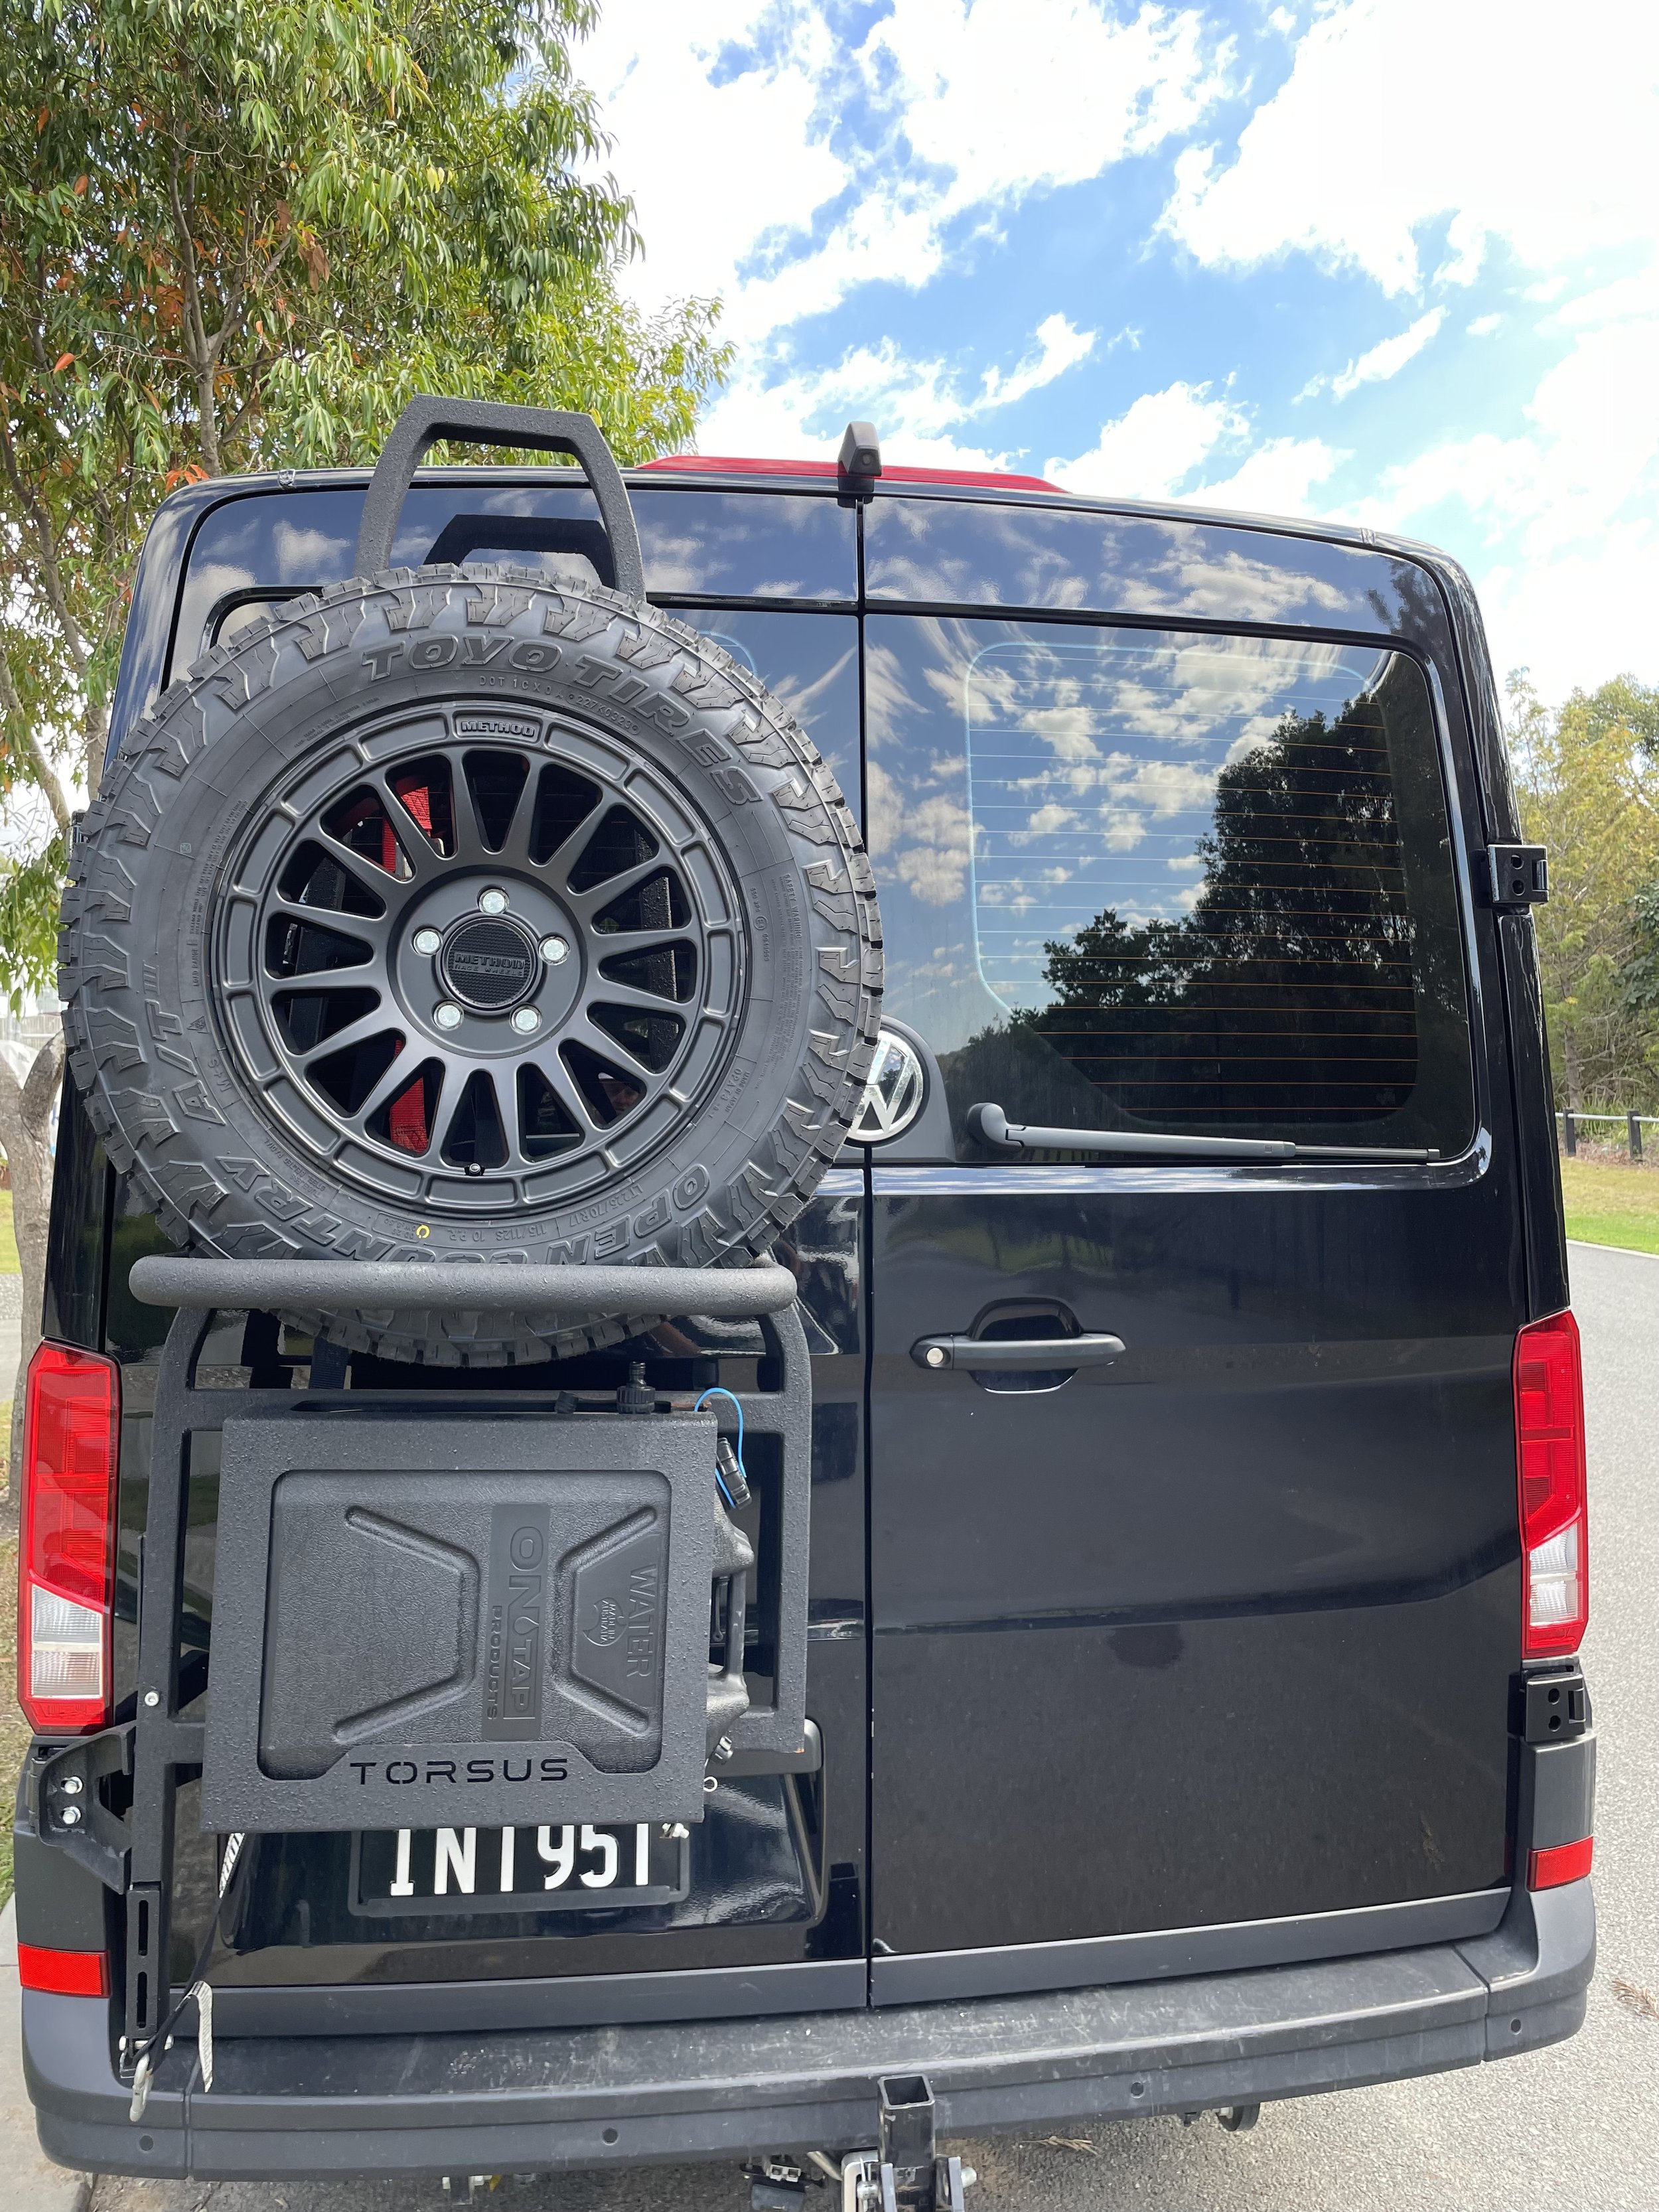
To achieve the perfect look for my van, I opted for the best in performance and style. I equipped it with Method Race Wheels paired with Toyo Tires for that premium, rugged aesthetic. To enhance its utility, I sourced a heavy-duty Torsus ladder/wheel holder from my friend Joel Whitaker, who was repurposing it from his own build.
For added convenience, I integrated my Ontap Shower into the jerry can compartment of the ladder rack. This setup not only provided a sleek and cohesive look but also added functionality to my van.
However, this arrangement did present a challenge: the added weight of the ladder and the Ontap Shower affected the efficiency of closing the van door. The extra load caused some issues with door alignment and operation.
The Panel bed was a great addition that I stole from YouTube called the IKEA bed hack. A panel bed from RB Components are other major van builders can cost thousands of dollars but this simple bed hack will open your eyes to one of the best Mose efficient ways to build a panel bed that comes in and our easily. Click HERE to check out this set up from YouTube
Final Thoughts
Building out my VW Crafter has been an incredibly rewarding experience. From dealing with delays and sourcing quality products to tackling DIY tasks and ensuring legal compliance, every step was a learning opportunity. The end result is a versatile, comfortable, and well-organized van that perfectly suits my moto and MTB lifestyle.
If you’re considering a van build or customization project, remember that combining DIY skills with professional products and assistance can lead to fantastic results. The journey may have its challenges, but the rewards are well worth the effort.
Here’s to many more adventures in the van, exploring new trails, and making lasting memories with family and friends. Thanks for following along!

